For most electricians, using a wire stripper feels like second nature. Still, if you’re new to the StripMeister™ or just want to make sure you’re getting the best results, here’s a step-by-step guide to help you set up and operate your machine with confidence.
Step 1: Secure the Machine
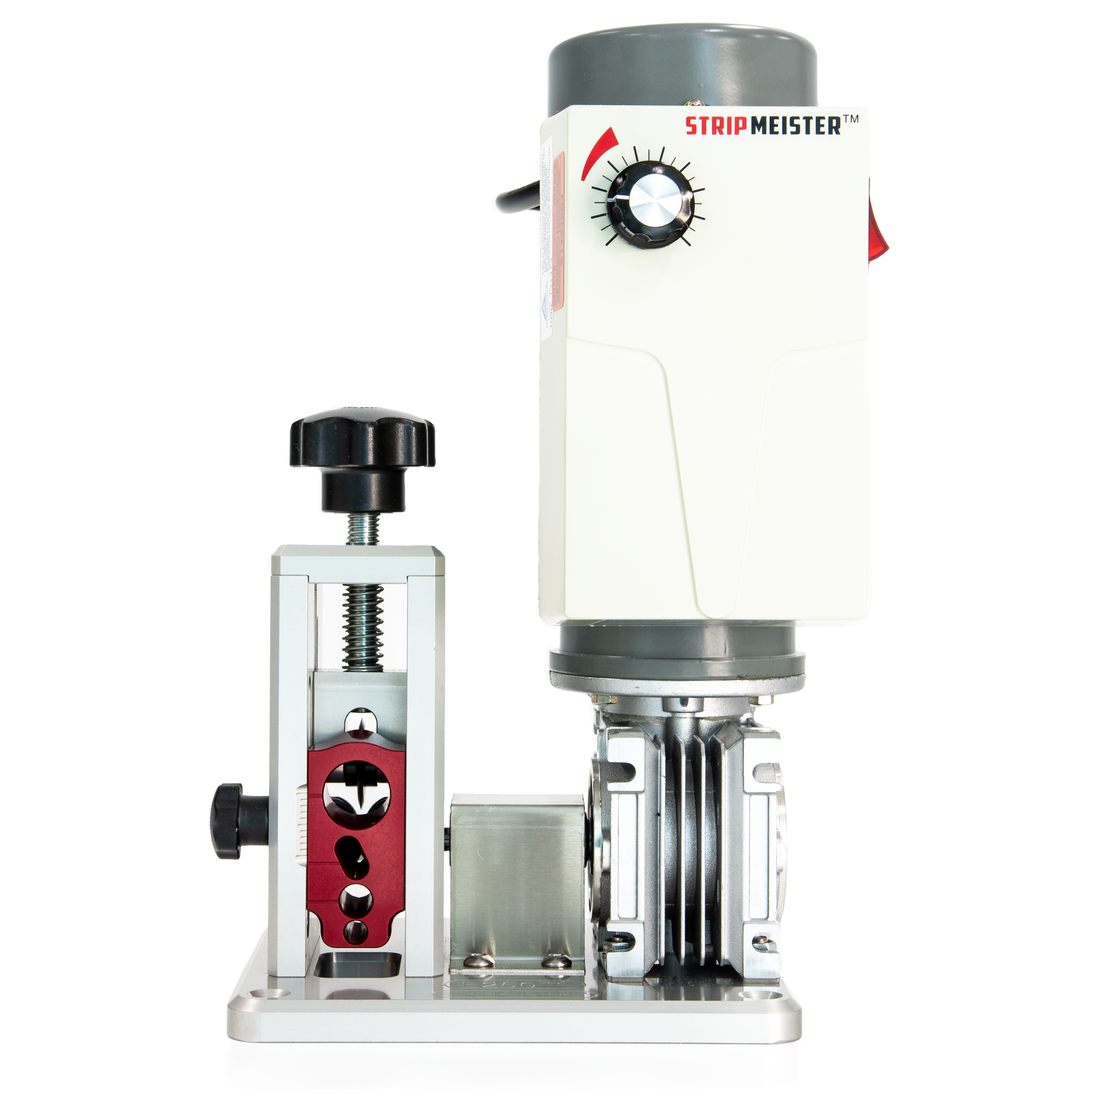
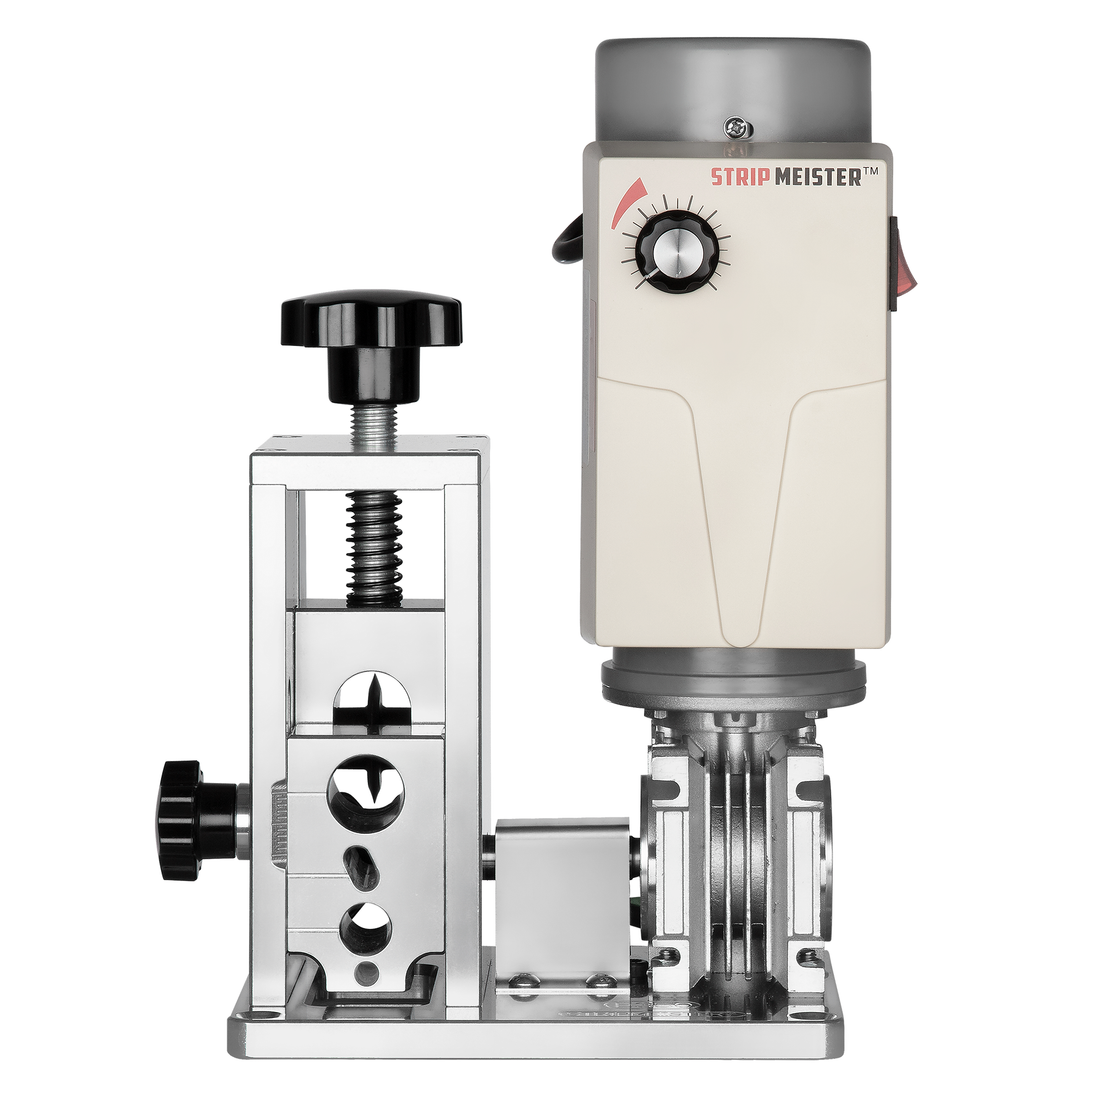
Mount your StripMeister™ firmly to your workbench using the provided screws through the mounting holes. A solid base ensures smooth and safe operation.
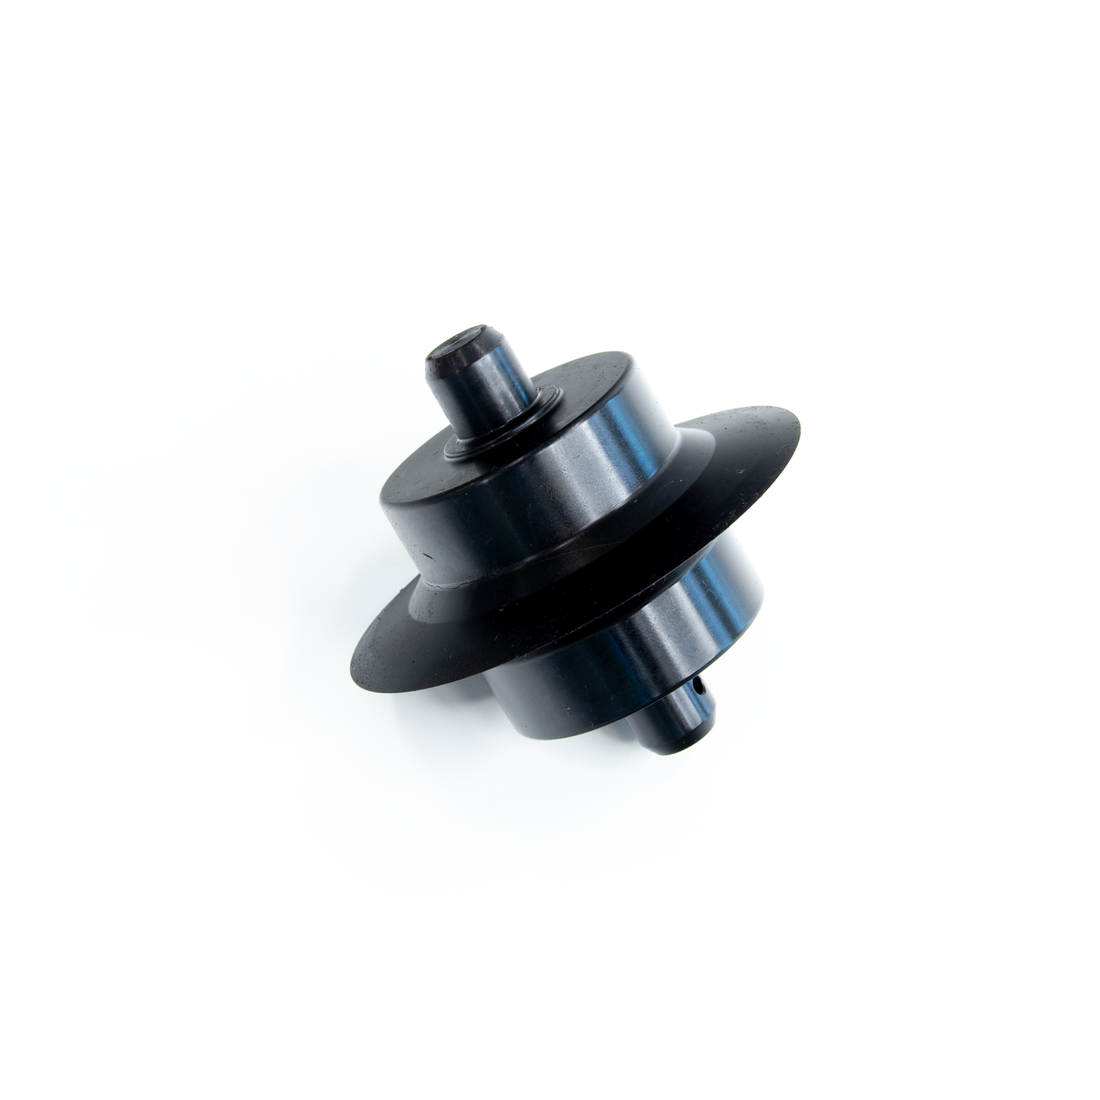
Step 2: Attach Your Drill
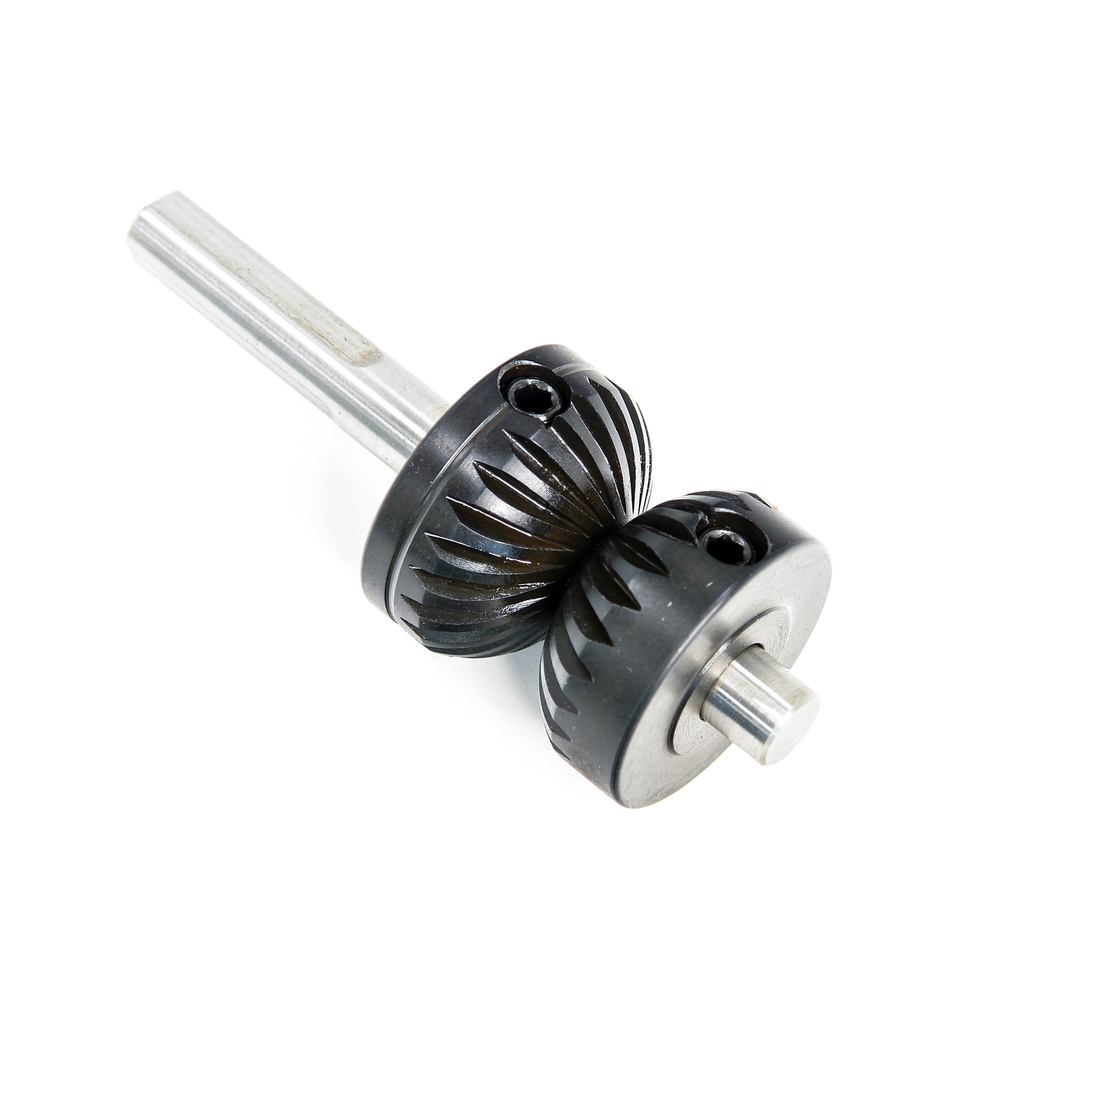
Connect a corded or cordless drill to the 5/16” feeder shaft and tighten it securely. This drill will power the wire feeder.
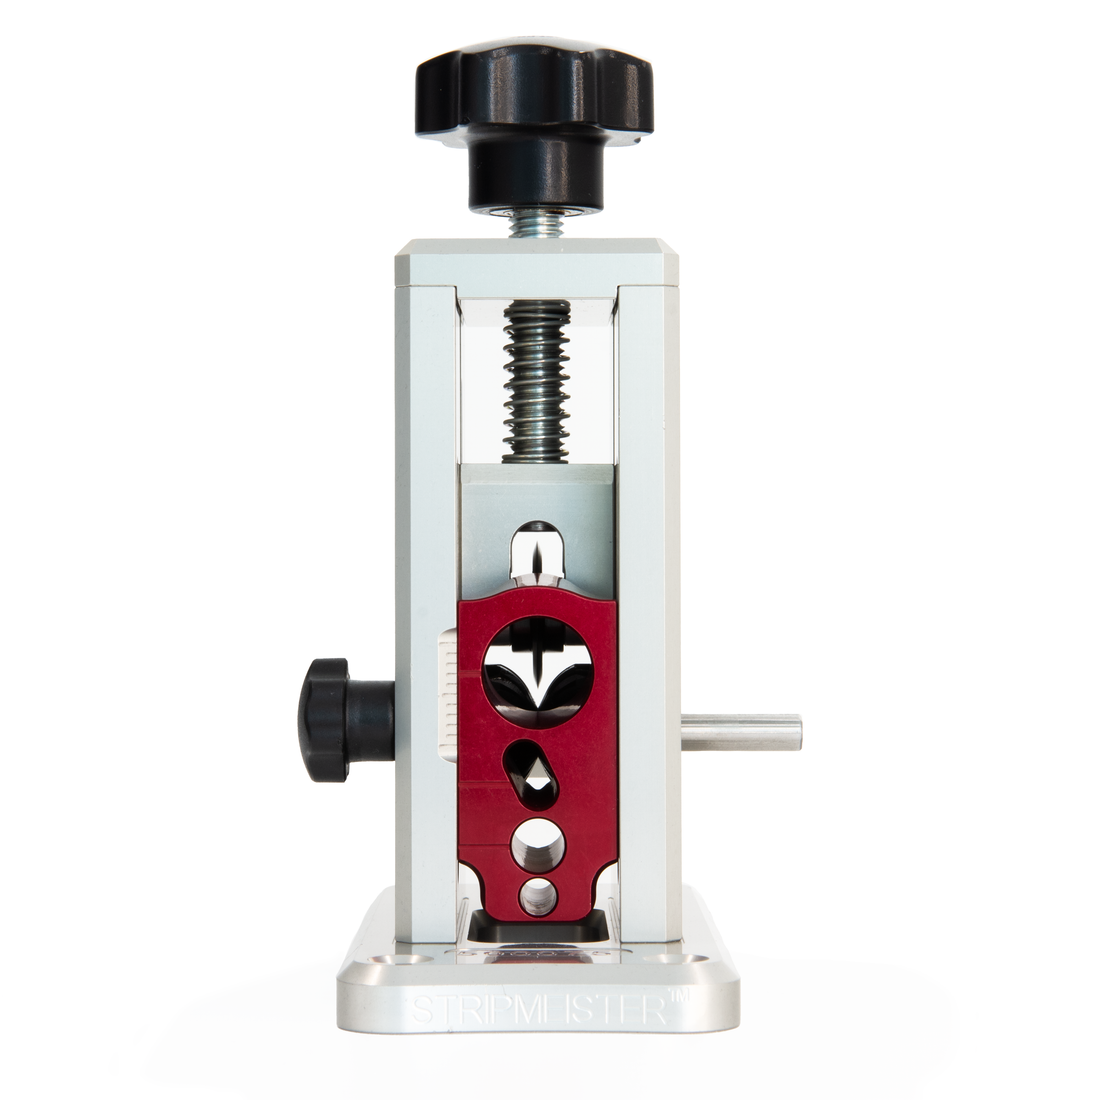
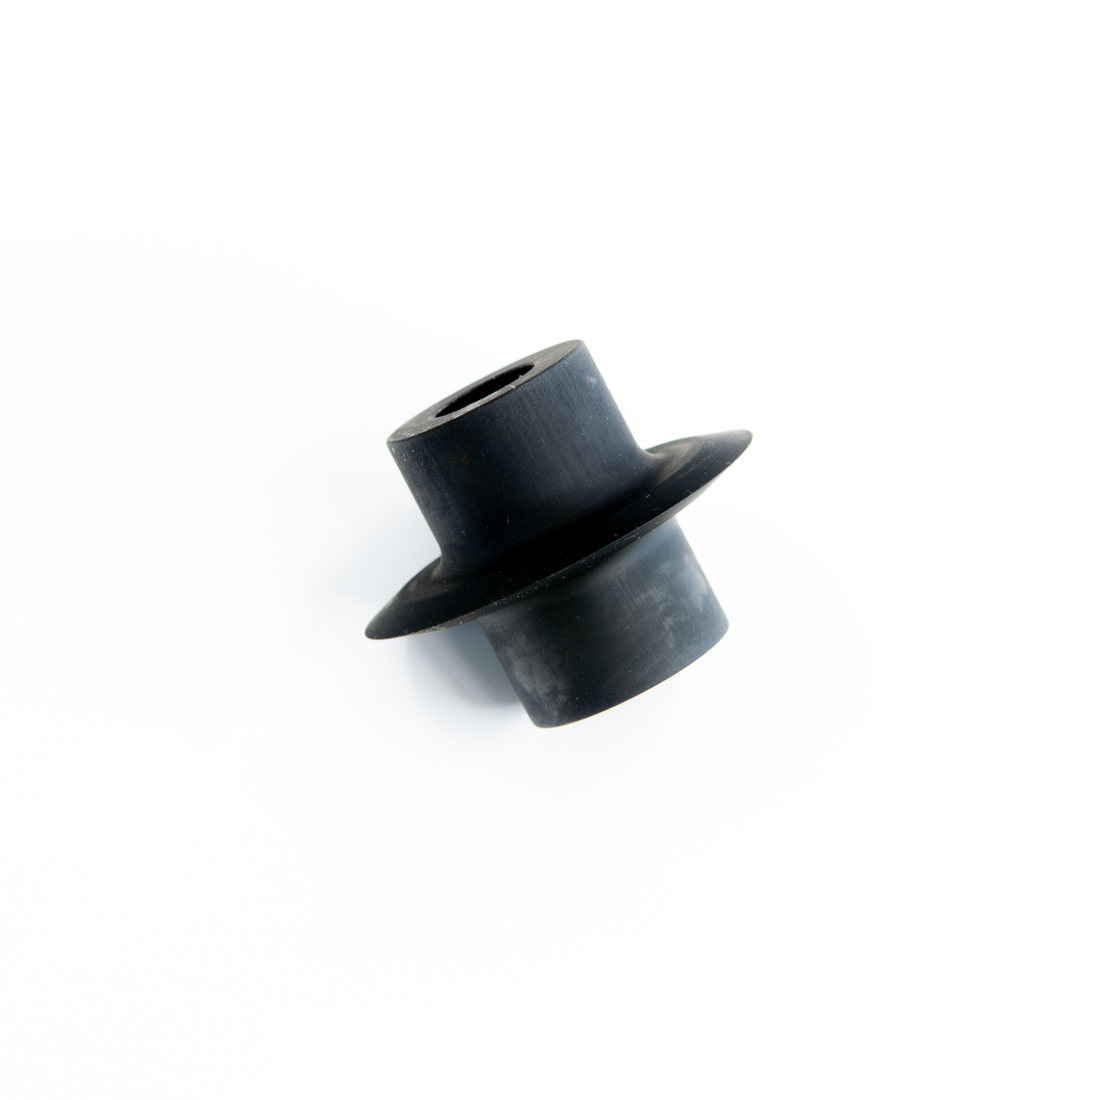
Step 3: Adjust the Wire Guide
-
Loosen the front wire guide so the wire can make contact with the feeder drive v-groove.
-
Feed the wire through the guide and into the v-groove.
Step 4: Set the Cutting Angle
-
Lower the knife blade until it just touches the wire’s insulation.
-
Position the front wire guide downward so the wire enters at a 10–20° angle.
-
Tighten the adjustment knob on the left side of the machine to lock the guide in place.
Step 5: Prepare the Knife Blade
-
Remove the wire.
-
Using the knife blade adjustment knob, lower the blade about 1¼ turns.
Step 6: Start Stripping
-
Start your drill.
-
Insert the wire into the feeder, and the machine will begin cutting automatically.
-
The wire will exit from the back of the StripMeister™ with a clean cut along the center.
Step 7: Peel the Insulation
Once cut, simply peel or strip the insulation off the wire.
Pro Tip
After your machine is set for a particular wire size, you can continue stripping wires of that size without making further adjustments. This makes bulk stripping faster and more efficient.